
Paper Christmas crafts are a lovely way to decorate when you want a beautiful home without collecting another box of expensive ornaments. The appeal is in the folds, shadows and repeated shapes: a handful of stars can transform a window, while one thoughtful paper detail makes a wrapped gift feel special. Choose two or three colors before you begin so your projects feel connected. Cream, kraft and burgundy work especially well with greenery. These ten ideas range from quick cutting projects to slower folding sessions, with a mixture of original styling images and Pinterest inspiration links to help you choose your first make.
Original images are AI-generated styling illustrations. Pinterest links open additional inspiration; designs and materials may differ.
1. Oversized paper bag stars
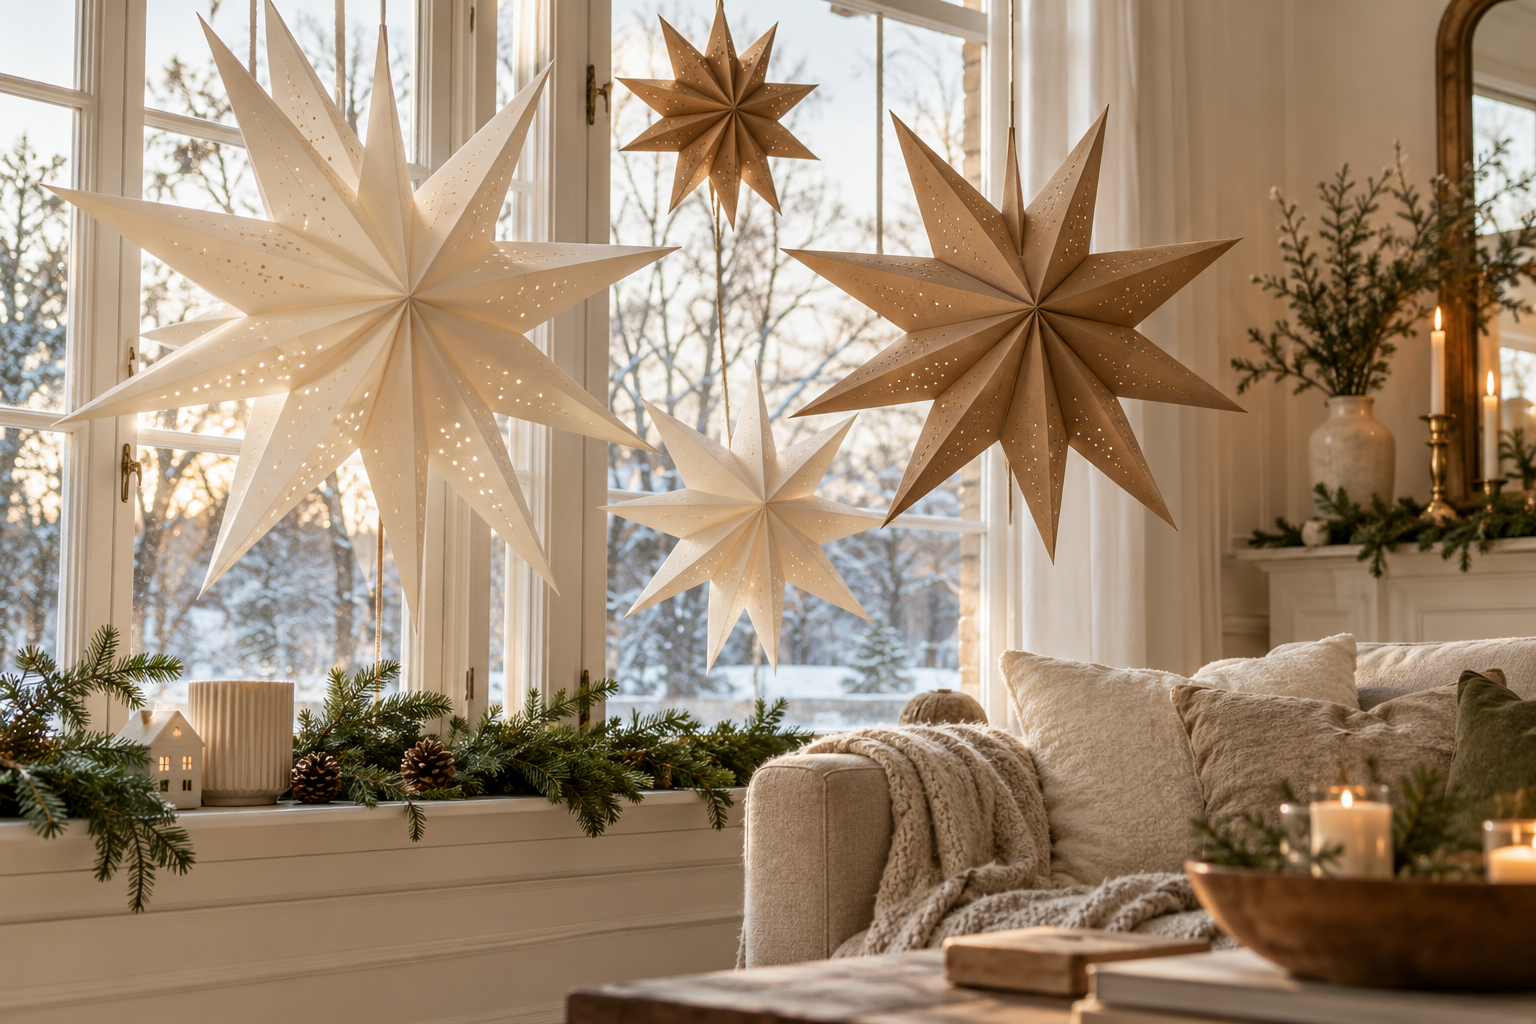
Start with matching flat-bottom paper bags, paper glue, scissors and string. Glue the bags into a stack using a narrow line down the middle and across the base of each bag, leaving the upper opening free. Once dry, trim the open ends into a point and carefully fan the stack into a circle. Test the shape before fastening the first and last faces together.
A removable clip makes storage easier. Hang two or three stars at different heights rather than crowding the whole window. Make a small sample first: bag sizes and folds change the finished star, so a practice version prevents wasted materials.
2. A simple paper chain
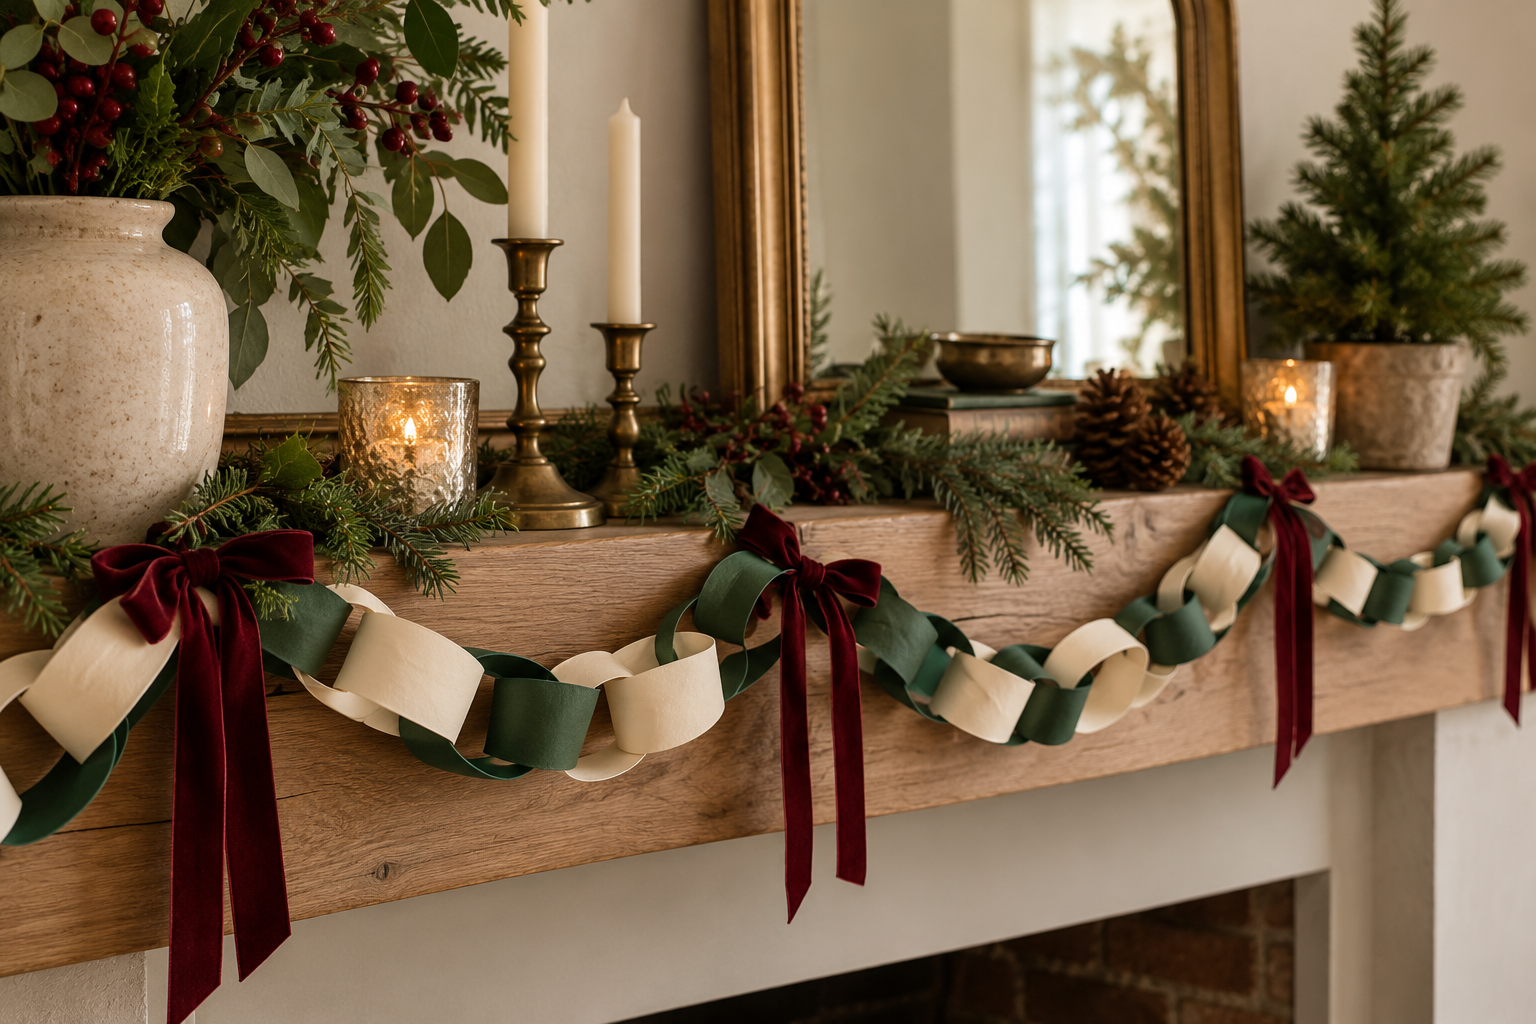
Cut paper into even strips and curl the first strip into a loop, securing the ends with glue or double-sided tape. Thread the next strip through before closing it, then repeat until the chain reaches your desired length. Alternate forest green with cream for a quieter version of the childhood classic.
Let each join set before you hang the chain so its own weight does not pull the loops apart. Drape it loosely over a shelf or across an unused doorway, away from moving doors. You can make short sections while watching a film and join them together when you are ready to decorate.
3. Honeycomb paper trees
See honeycomb paper trees inspiration on Pinterest →
Honeycomb trees bring that charming shop-window look to a mantel or sideboard. The honeycomb effect needs alternating glue lines between matching paper shapes, so follow a visual tutorial or use a prepared template rather than guessing the pattern. Begin with one small tree and check that the glue has dried fully before opening it.
A folded cardstock spine helps the tree stand neatly. Mix two heights in the same color and leave space around the bases so the silhouette stays clear. Use ordinary paper for the first attempt; save delicate tissue or special patterned sheets until you understand how the construction opens.
4. Cut-paper snowflakes
See cut-paper snowflakes inspiration on Pinterest →
Thin white paper is easier to fold and cut than heavy cardstock. Fold it into a compact wedge, sketch a few simple notches and cut away small areas while keeping enough connected paper to hold the design together. Unfold slowly, flatten beneath a book and test one snowflake on a window before making a whole group.
Use removable attachments suitable for the surface. Vary the size instead of adding lots of colors; the shadows are part of the decoration. If you are crafting with children, handle the more difficult cuts yourself and keep the design generous enough for blunt-ended scissors.
5. A tiny paper village
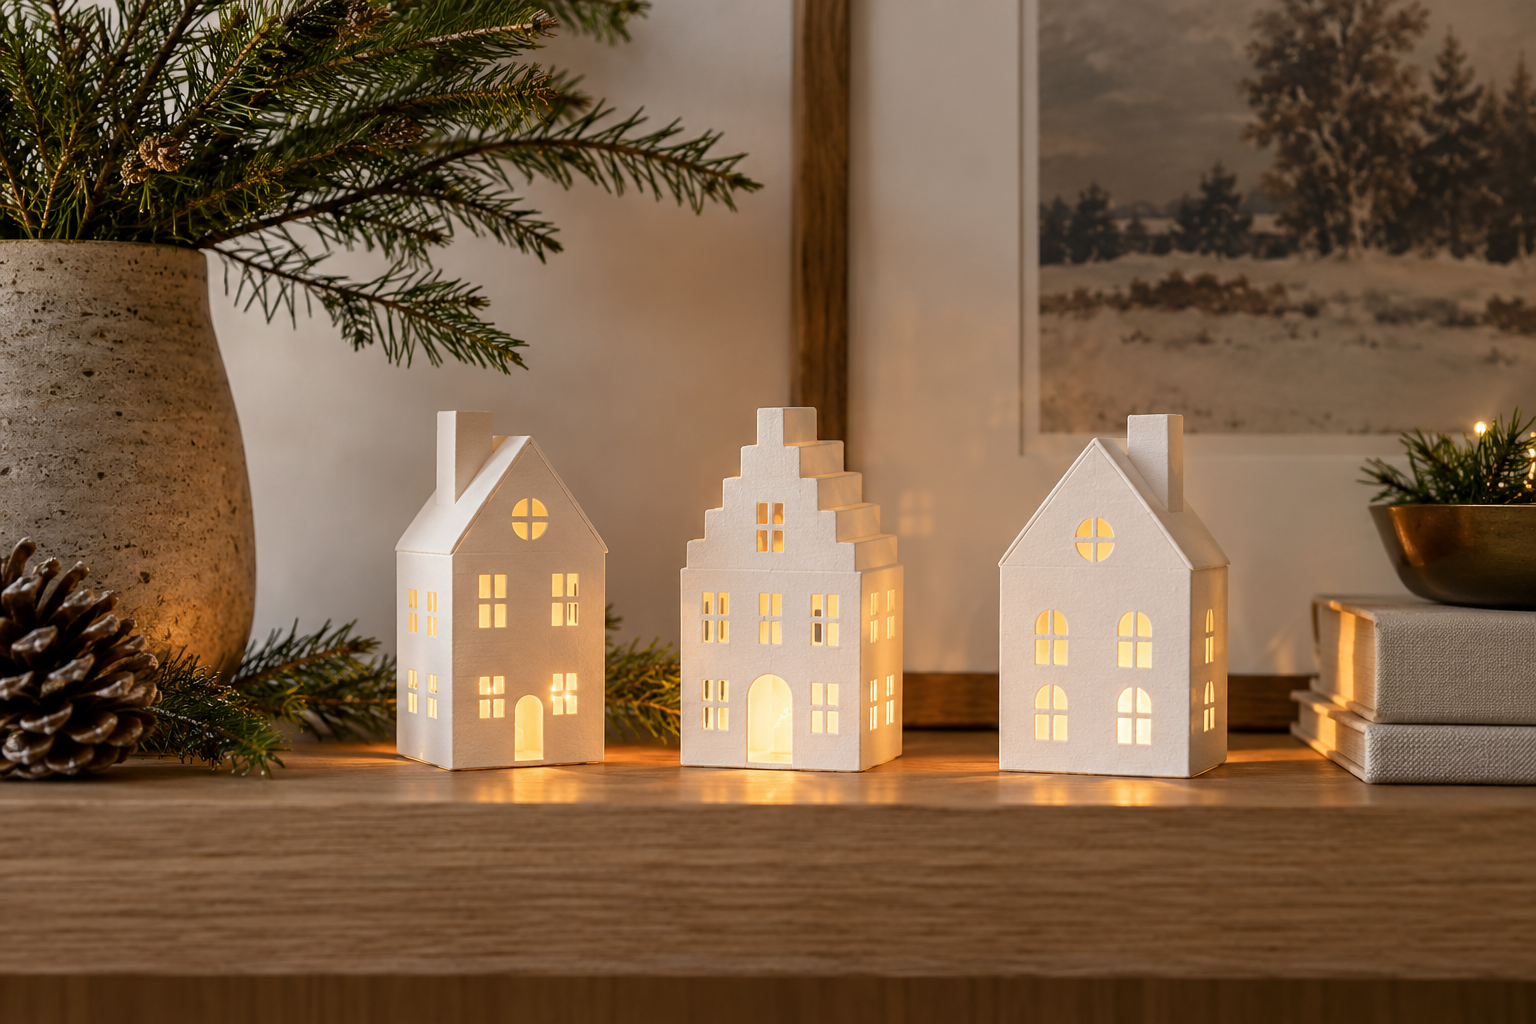
Draw a simple house front on cardstock, adding side walls and tabs before cutting it out. Make window openings while the sheet is flat, then fold the corners with a ruler and glue the tabs inside. A separate folded roof gives the little house a clean finish. Begin with one basic shape and repeat it in different heights rather than attempting detailed architecture.
Set the finished houses on a stable shelf and place battery LED lights behind them. Never put a flame inside paper. Keep the village small enough that you can lift the whole arrangement away when the shelf needs cleaning.
6. Paper cone trees
See paper cone trees inspiration on Pinterest →
A paper cone is a useful foundation for an entire little forest. Roll a semicircle of sturdy paper into a cone, secure the overlapping edge and trim the bottom until it sits flat. Cover the cone with layered paper fringe, scalloped strips or smaller stacked cones. Choose one surface treatment for all the trees so they feel like a collection.
Try the design on scrap paper before trimming your final sheets. These work particularly well on a narrow shelf because they use height without needing a deep base. Store them upright in a rigid box so the tips do not get crushed.
7. Pleated rosette gift toppers

Fold a long paper strip back and forth in small, even pleats, then join the ends into a ring. Press the ring into a flat circle and glue small cardstock discs to the center on both sides to hold the folds in place. Let it set under a light weight before adding a ribbon or paper center.
A deep red rosette makes plain cream wrapping look festive without shiny plastic trim. Keep the topper proportionate to the parcel and use a simple band of ribbon underneath. After the gift is opened, the rosette can become an ornament if you add a hanging loop.
8. Curved paper-strip baubles
See curved paper-strip baubles inspiration on Pinterest →
Cut several strips of the same length and width. Punch a hole near each end, align the strips and fasten the top and bottom stacks with suitable paper fasteners. Gently spread the strips around the center until they form a rounded bauble. A little extra cardstock at each end makes the connections stronger.
Use lightweight paper so the ornament hangs easily on a small branch, and tuck exposed fastener legs safely inside. Two shades of one color make a pleasing pattern. Test one finished bauble before batch-making: strip length and the number of strips both change how full the sphere looks.
9. Woven paper hearts
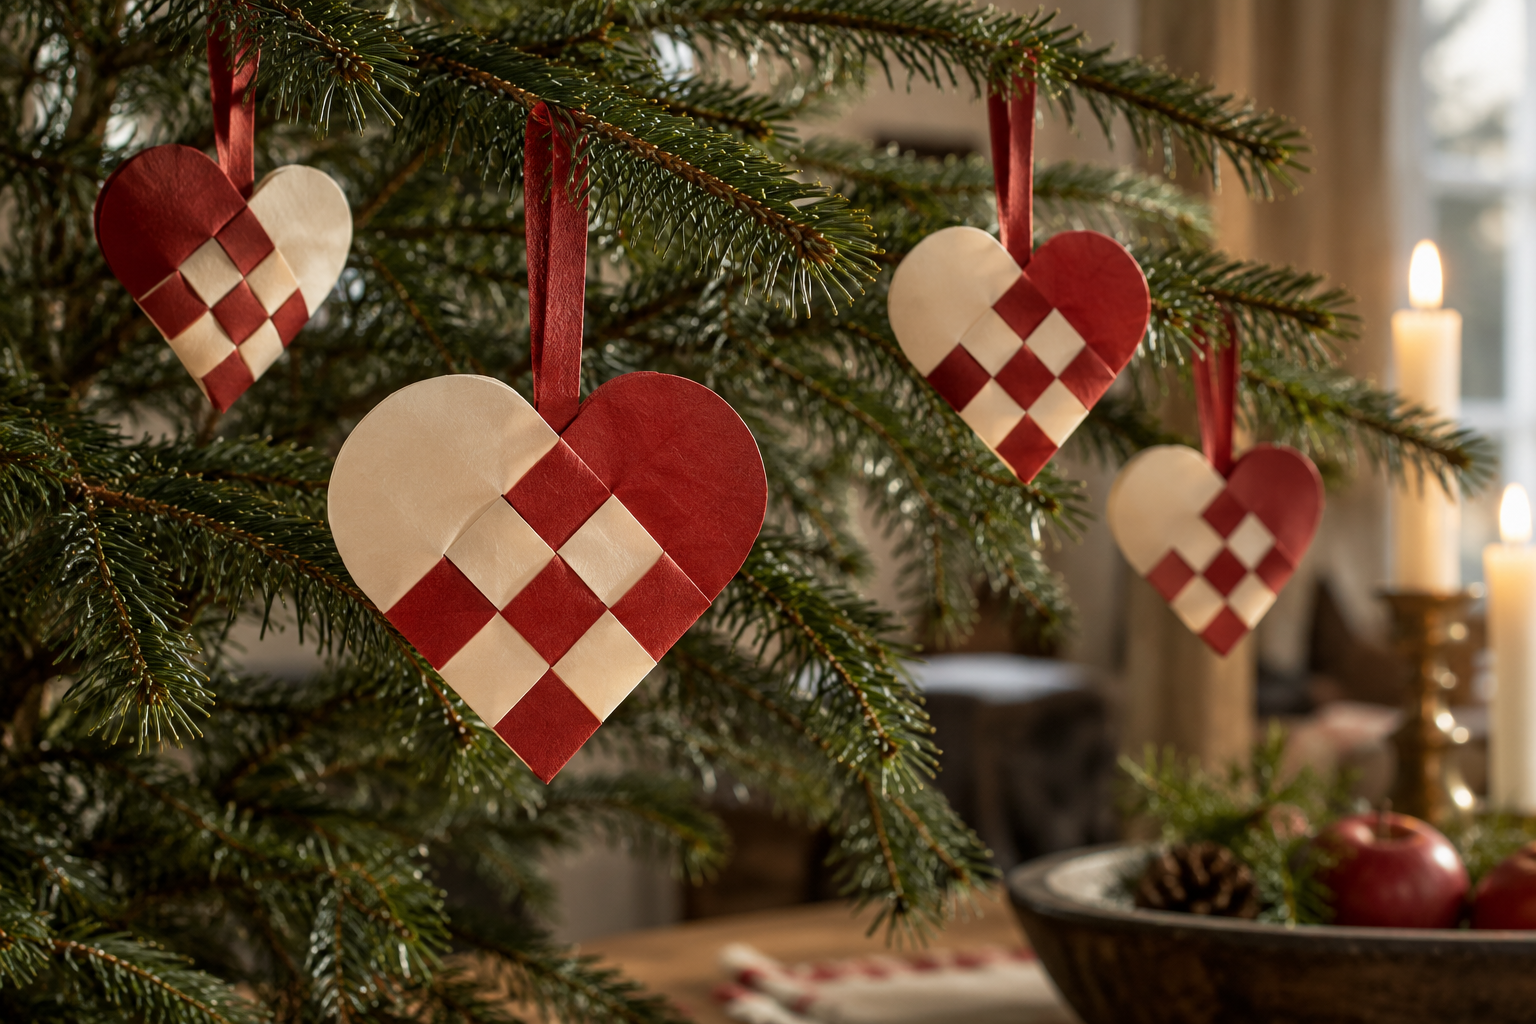
Woven paper heart baskets are satisfying if you enjoy a slower, precise project. Start with a reliable heart template so the slots line up, then cut two contrasting folded pieces and weave the loops through each other to create an opening basket. Ordinary printer paper is ideal for practicing the over-and-through movement. Once the weaving lies flat, add a narrow paper handle and hang the heart from a sturdy branch.
Keep anything placed inside very light. Deep red and cream look traditional, while kraft and white feel understated. Save your successful template in the decoration box so next year’s hearts are easier to repeat.
10. Folded paper angels
See folded paper angels inspiration on Pinterest →
An accordion-folded skirt and a smaller folded wing piece make a graceful paper angel. Pinch the folds together at the top, secure them and add a plain wooden bead for the head if you want a faceless finish. A loop of thread can sit behind the bead. Keep the materials light so the paper holds its shape without a heavy layer of glue.
Cream paper with natural thread looks particularly lovely on an evergreen branch. Make several with the same fold width for a cohesive set, and leave off drawn facial details. The simple silhouette supplies all the character the ornament needs.
Bring the look together
Choose one hanging project, one shelf decoration and one gift detail rather than making everything at once. Repeat the same paper colors across them and your room will feel coordinated. Flatten pieces wherever the construction allows, label the reusable templates and keep a few spare strips for repairs. For more ways to use a small decorating budget, see our small-space Christmas decor ideas.
Keep decorating with our small-space Christmas decor ideas and small-entryway Christmas decor ideas.