
Handmade Christmas ornaments make a tree feel personal even when the shapes are simple. You do not need a complicated pattern or a room full of tools: felt, paper, clay, ribbon and a little patience can create a lovely collection. Choose materials you enjoy handling and repeat a few colors so the finished ornaments sit comfortably together. This list mixes original AI styling photographs with Pinterest inspiration links. Treat the photographs as design inspiration, and follow the relevant material instructions for drying, curing and adhesives. Start with a single sample, check that it hangs securely, then make a small batch to keep or give.
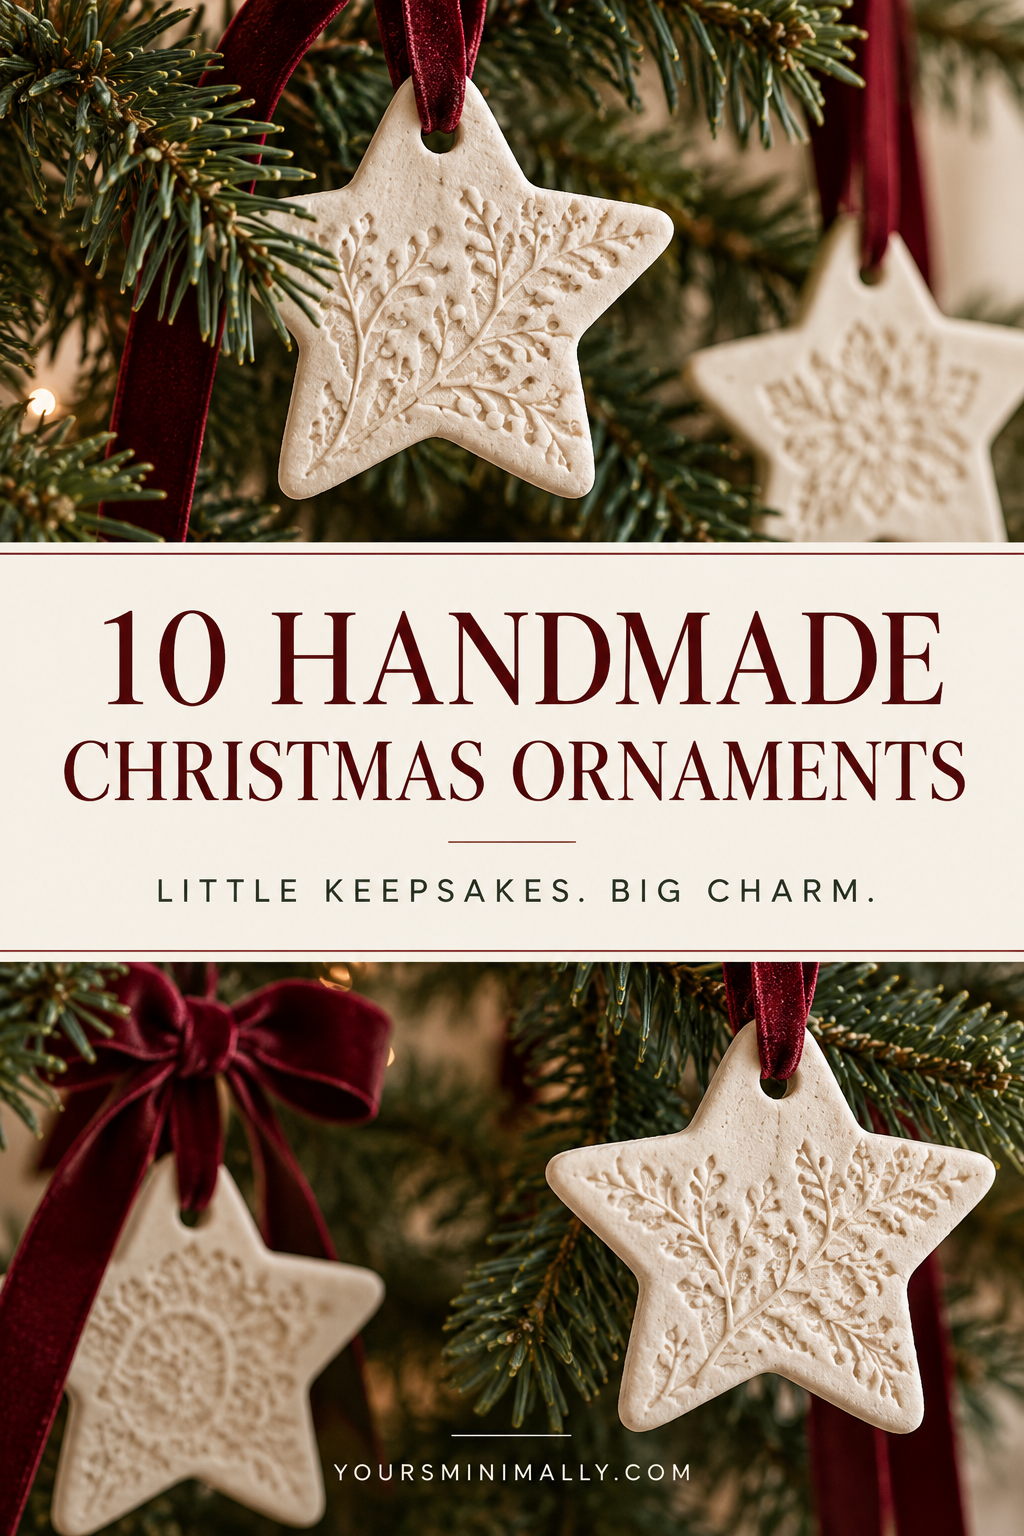
Original images are AI-generated styling illustrations. Pinterest links open additional inspiration; designs and materials may differ.
1. Lace-impressed clay stars
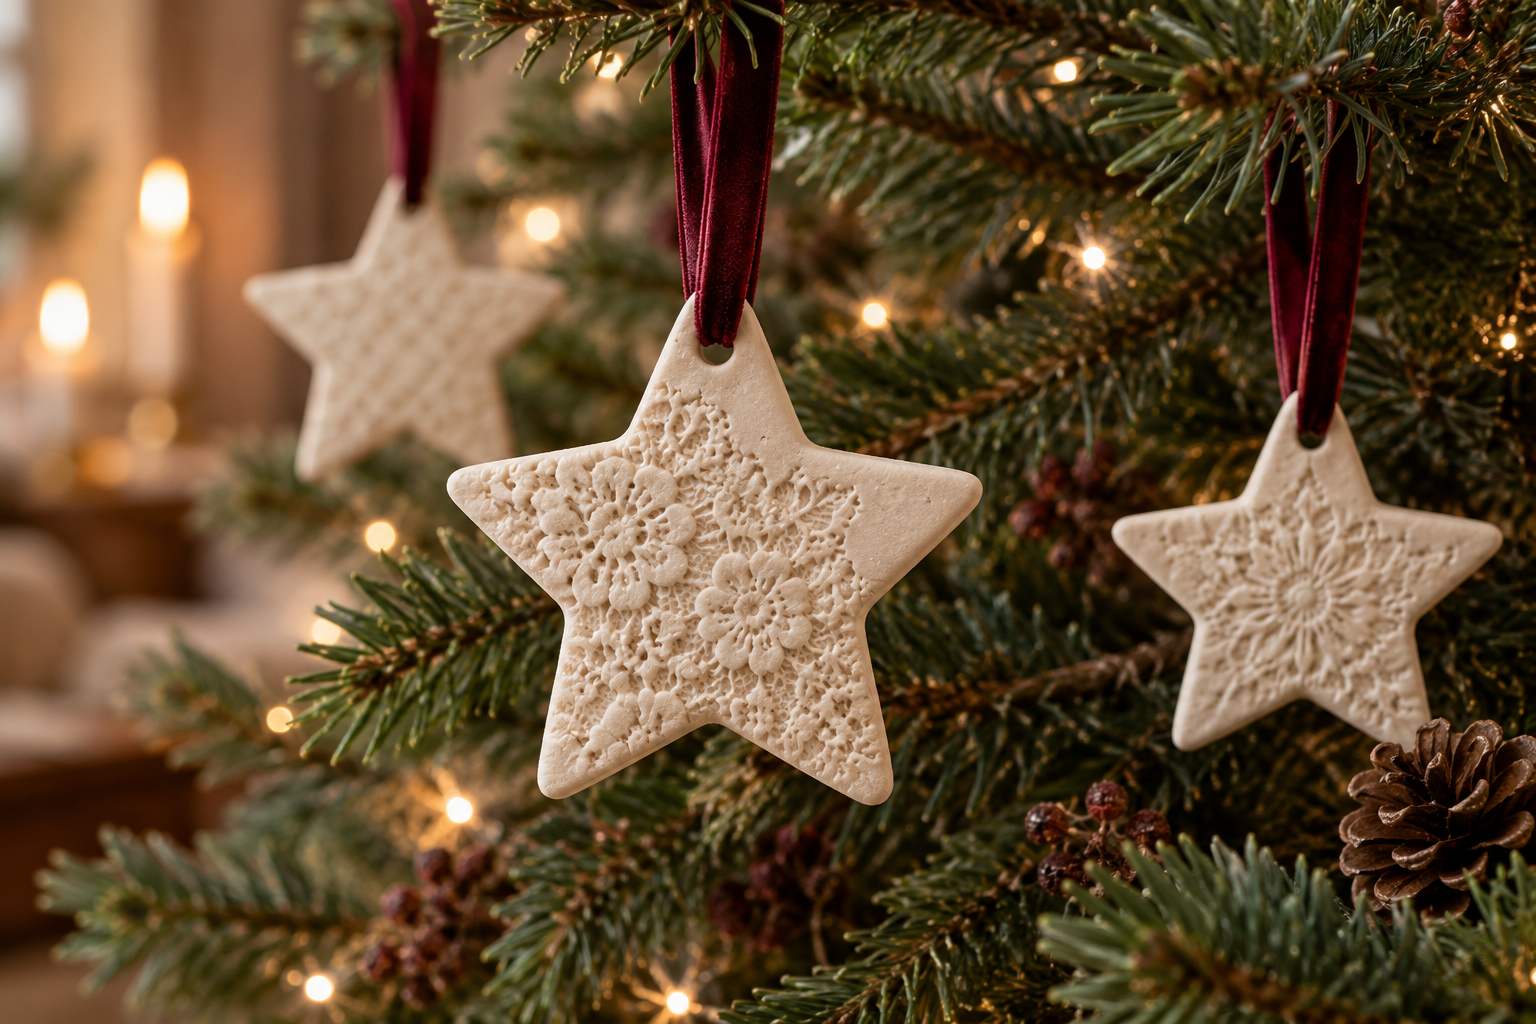
Roll air-dry clay to an even thickness on a protected surface, following the clay maker’s guidance. Press a piece of textured fabric gently into the surface, lift it away and cut stars with a craft cutter. Make a hanging hole before drying and smooth the edges with a slightly damp fingertip if your clay allows it. Turn or move the pieces as recommended so they dry evenly.
Thread with burgundy ribbon only once fully dry. Keep a few plain stars among the textured ones for a calmer tree. These ornaments are for indoor decoration and should not be treated as food or weatherproof ceramics.
2. Blanket-stitched felt hearts

Cut two matching heart shapes from felt using a paper template. Add any stitching to the front piece first, then sew the edges together with a simple blanket stitch, leaving a small opening for a little stuffing. Secure a folded ribbon loop inside the top seam and close the opening neatly.
Avoid overfilling: a lightly padded heart keeps its shape better than one with strained seams. Burgundy felt with cream thread looks warm and traditional. Make your first heart larger than you think you need so the curves are easy to stitch, then reduce the template once you are comfortable with the technique.
3. Beaded felt stars
See beaded felt stars inspiration on Pinterest →
A few small beads can give a felt star lovely detail without hiding the handmade surface. Sew the beads onto the front layer before joining the back, using secure knots and enough thread passes to hold them in place. Keep the design symmetrical if you want a tidy snowflake effect, or add just one bead at the center.
A flat ornament needs no stuffing and is easier for beginners. Attach the hanging loop within the seam. Because loose beads are small parts, display the ornament where young children and pets cannot reach it, and repair any loosened stitching before putting it back on the tree.
4. Natural wood-bead rings
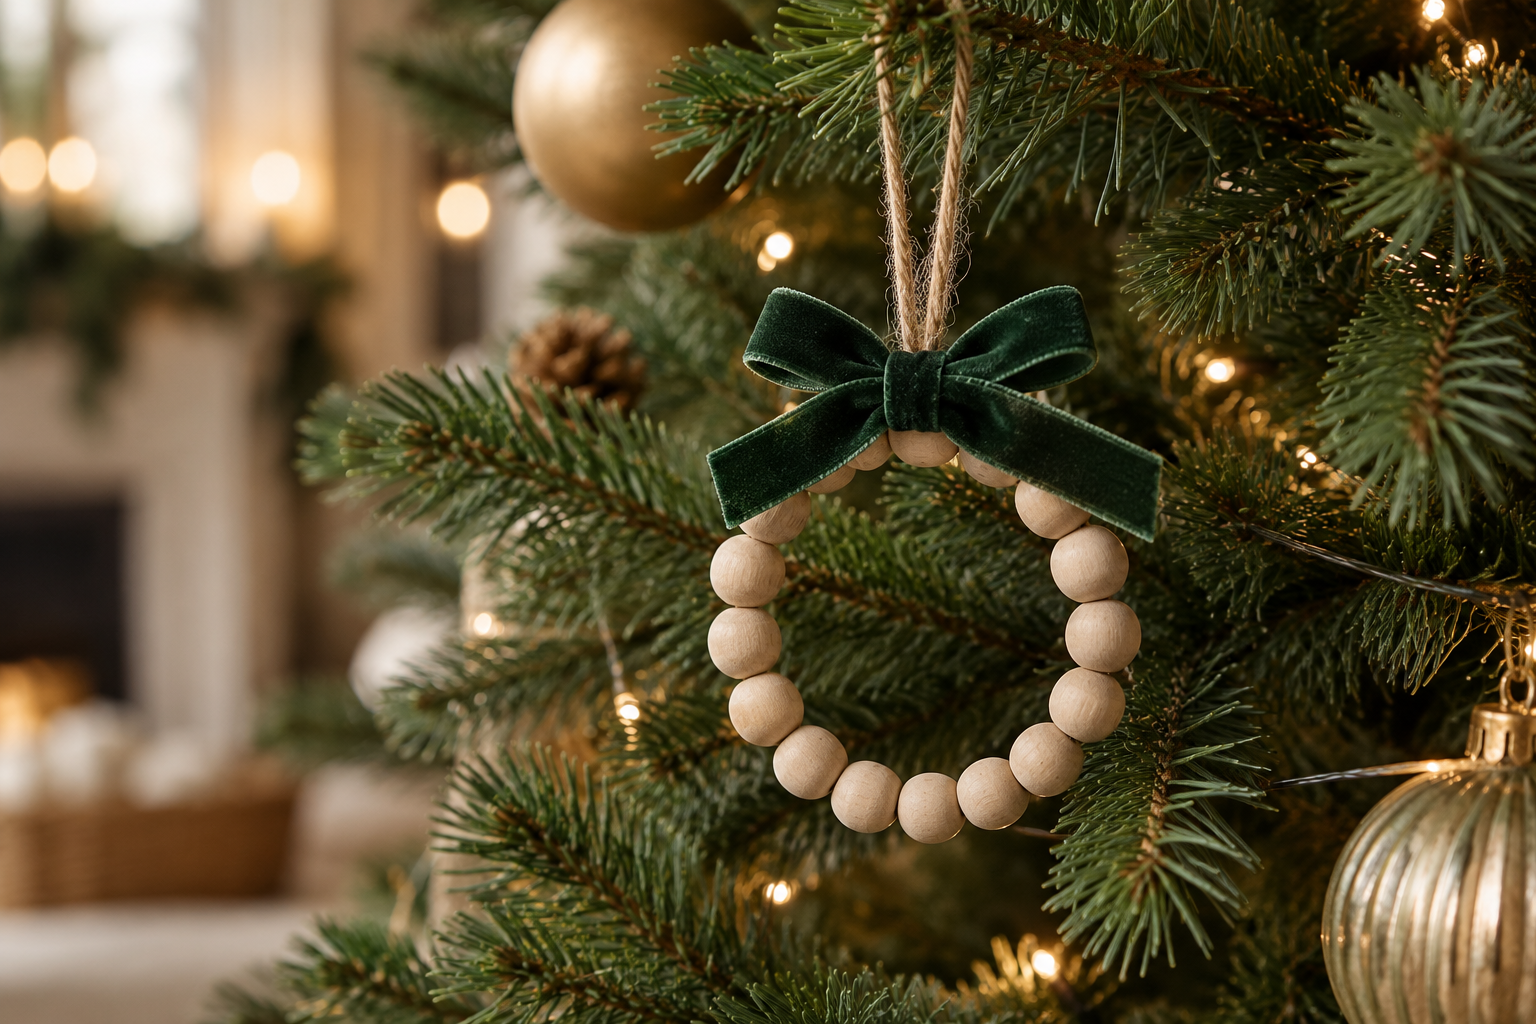
Thread wooden beads onto sturdy cord or suitable craft wire, checking that the holes fit before you begin. Form a circle and secure the ends so the ring keeps its shape. If you use wire, tuck and cover any sharp end carefully. Add a separate hanging loop and a small green ribbon bow at the top.
The unfinished wood looks beautiful beside clay and felt, and you can make several rings in slightly different sizes. Keep the number of beads consistent within each size for a coordinated set. Check the join with a gentle pull before hanging, especially if the ornament will be packed and reused.
5. Simple hanging pinecones
See simple hanging pinecones inspiration on Pinterest →
Choose clean, dry pinecones with intact scales and attach a strong cord loop to the top. Let the fastening set completely before adding a narrow velvet bow to cover it. Use a small cone for a delicate branch and reserve heavier ones for a bowl or wreath. The natural texture gives a tree depth without needing glitter.
If you use collected cones, inspect them carefully and prepare them appropriately before bringing them into your decorating box. Keep them dry, separate from food and away from heat. A matching ribbon across a group makes even differently shaped cones feel like a deliberate collection.
6. Twine-bound cinnamon stars
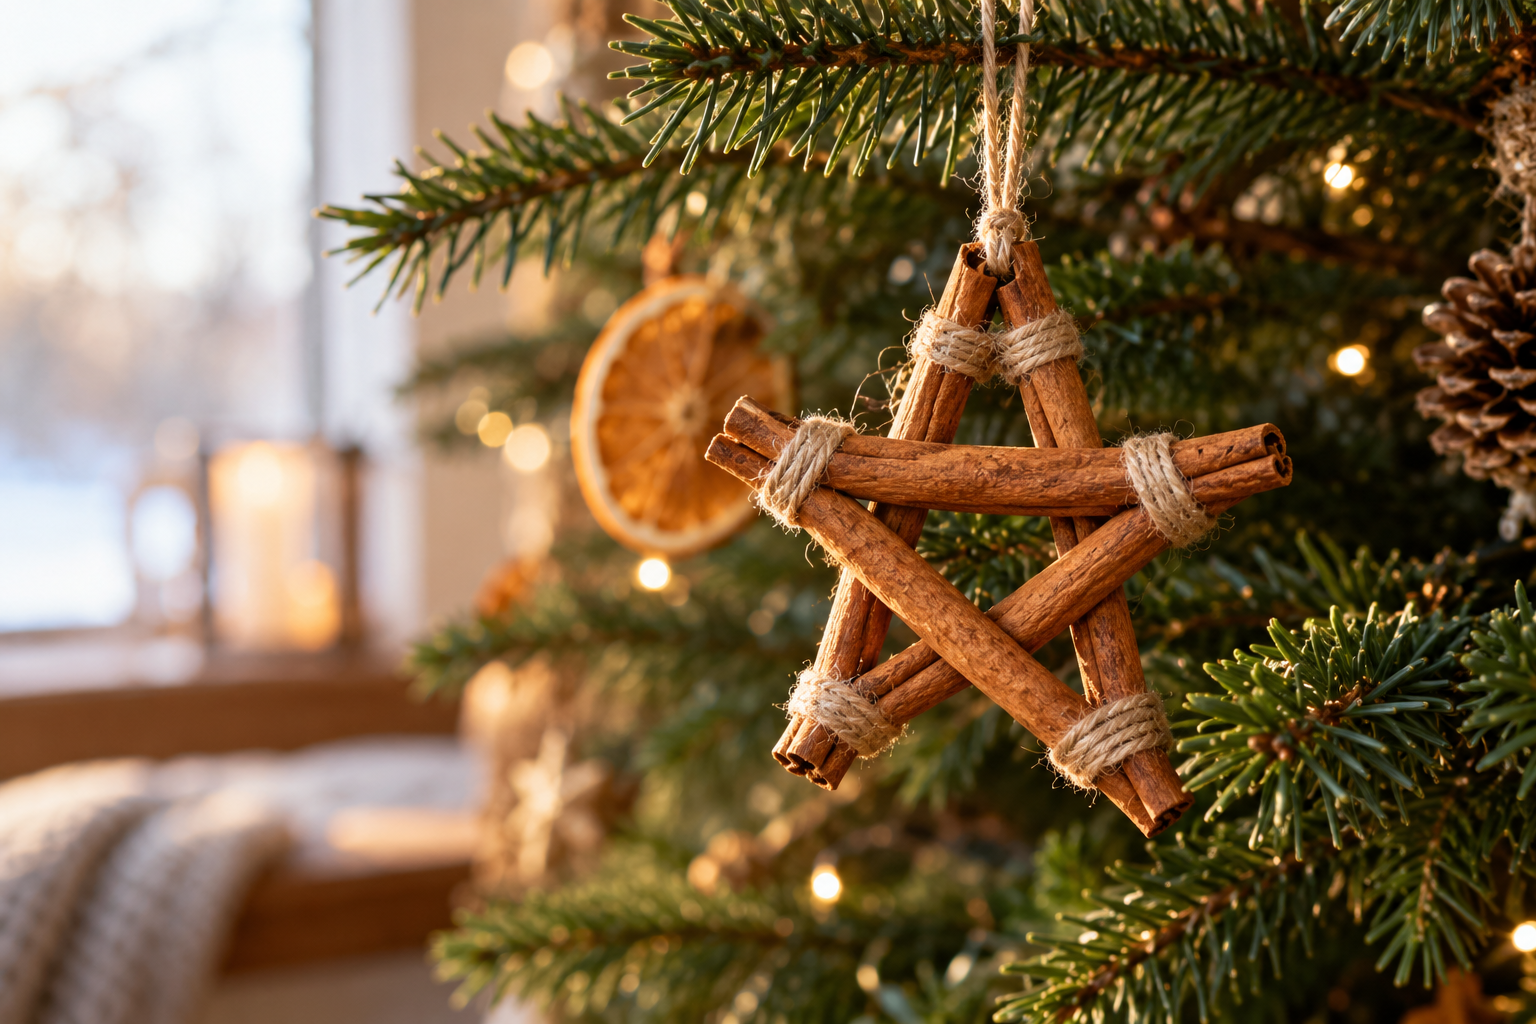
Lay five similar-length cinnamon sticks on a flat surface in a star shape, adjusting the overlap until the points are balanced. Secure the crossings with craft adhesive suited to the materials, then reinforce the joins neatly with twine. Work carefully with any hot glue and allow the assembly to cure before lifting it.
Tie a hanging loop to a strong point of the structure rather than relying on a loose decorative bow. Small stars are easier to support than large ones. Keep the finished pieces for decoration only, and do not place them close to flames or assume their scent will fill an entire room.
7. Decoupage wood slices
See decoupage wood slices inspiration on Pinterest →
A predrilled wood round makes this project easier. Paint the face a pale color if you want the pattern to show clearly, allow it to dry and apply a small paper motif with decoupage medium. Work gently from the middle outward to reduce wrinkles, then seal as directed by the medium’s label. Leave the bark edge visible for a natural border.
Use a simple botanical or checked pattern instead of trying to fit a large scene on a tiny disc. Reopen the hanging hole carefully once everything is dry and add cord. Make one test piece to see how your chosen paper behaves.
8. Soft fabric stars
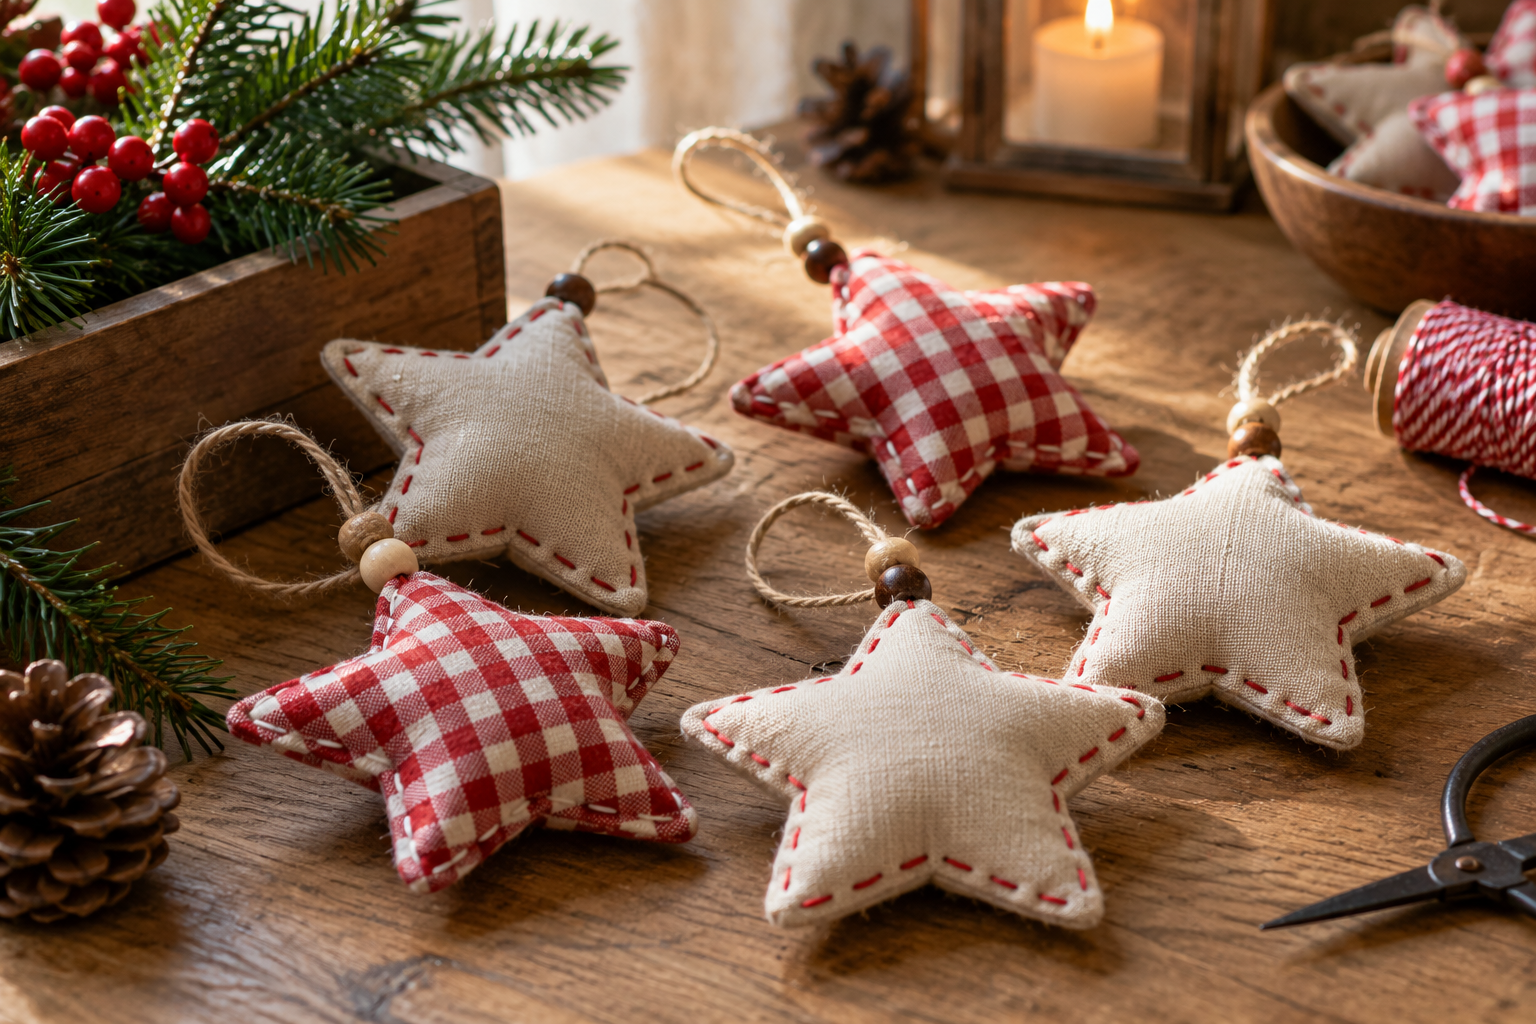
Cut two matching stars from linen, cotton or fabric scraps, leaving a seam allowance around the template. Sew them with right sides facing, leave a turning gap and clip the inner corners carefully before turning out. A blunt tool helps shape the points without piercing them. Add a little stuffing and close the gap with small stitches.
Secure a hanging loop into a strong seam. If turning tiny points feels frustrating, make a flat felt star instead. A mix of plain linen and red gingham looks collected rather than perfectly matched, especially when the stars share the same shape and ribbon.
9. Paper-strip baubles
See paper-strip baubles inspiration on Pinterest →
Use evenly cut paper strips and fasten both ends into two aligned stacks, then spread the strips into a round shape. Paper fasteners or a suitable threaded construction can hold the ends, depending on your template. Keep fastener points covered inside the ornament. Lightweight patterned paper gives the bauble movement while a plain cardstock version feels more sculptural.
Match the strip length within each ornament so it does not hang crookedly. This is a useful project for leftover gift wrap backed with paper if it needs more strength. Store the finished baubles in a shallow box to prevent the curved sides from being flattened.
10. Mini ribbon-bow ornaments
See mini ribbon-bow ornaments inspiration on Pinterest →
Small ribbon bows are the quickest way to fill a few gaps between your handmade ornaments. Cut equal lengths for a matching batch, tie each bow loosely and adjust the loops before tightening the center. Add a separate thread hanger behind the knot so the ornament faces forward on the branch.
Trim the tails consistently and use a ribbon finish appropriate for the fabric rather than sealing edges with a flame. Make a few spare bows for gifts. When packing them away, wrap gently around a piece of card or lay flat with tissue so the loops keep their shape for next year.
Bring the look together
A collection feels cohesive when you repeat one detail, such as burgundy ribbon or natural cord, across different materials. Let every adhesive and clay piece finish drying before hanging or storing. Label fragile pieces so they go near the top of the decoration box. For more lightweight projects, explore our paper Christmas crafts, or add a handmade ornament to a wreath using our minimalist Christmas wreath ideas.
Keep decorating with our small-space Christmas decor ideas and small-entryway Christmas decor ideas.