Let’s be real for a sec—autumn is basically Mother Nature showing off. 🍂 The air gets crisper, everything smells like cinnamon (even if it shouldn’t), and suddenly you feel the uncontrollable urge to make your home look like a Pinterest board. Sound familiar?
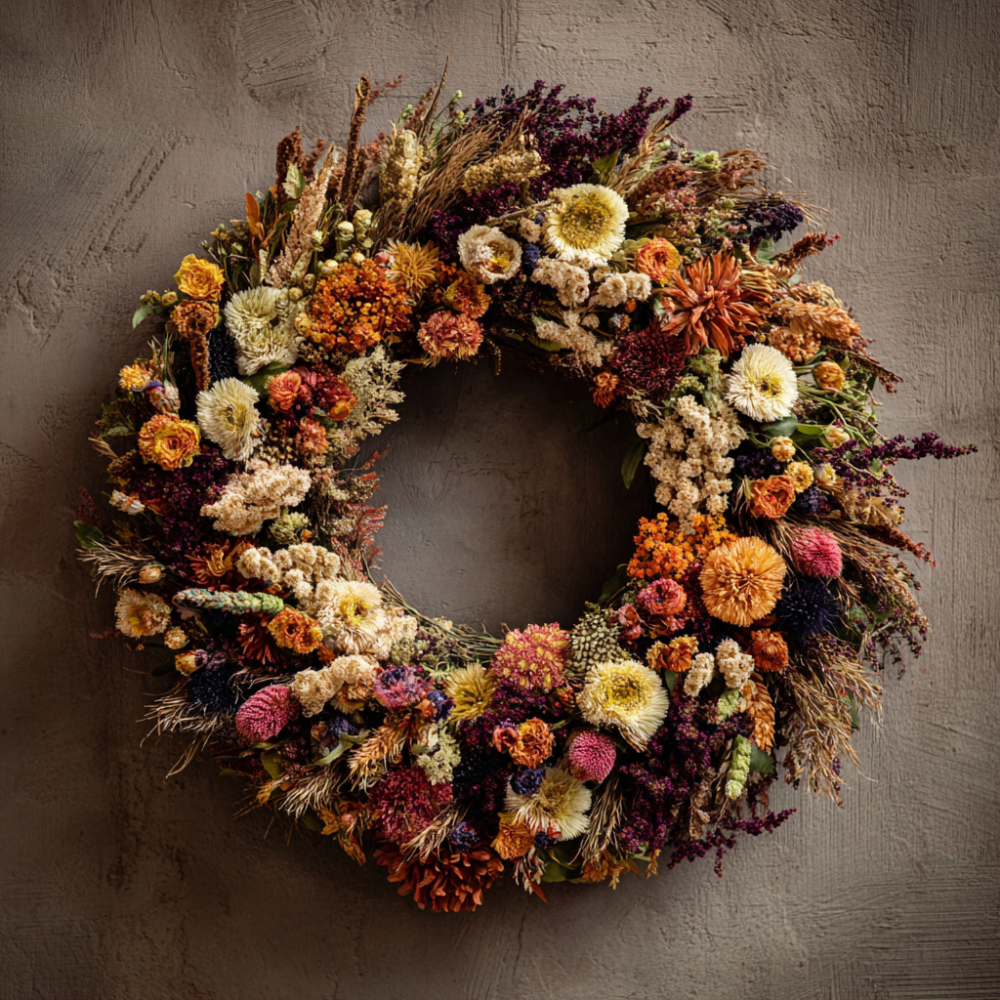
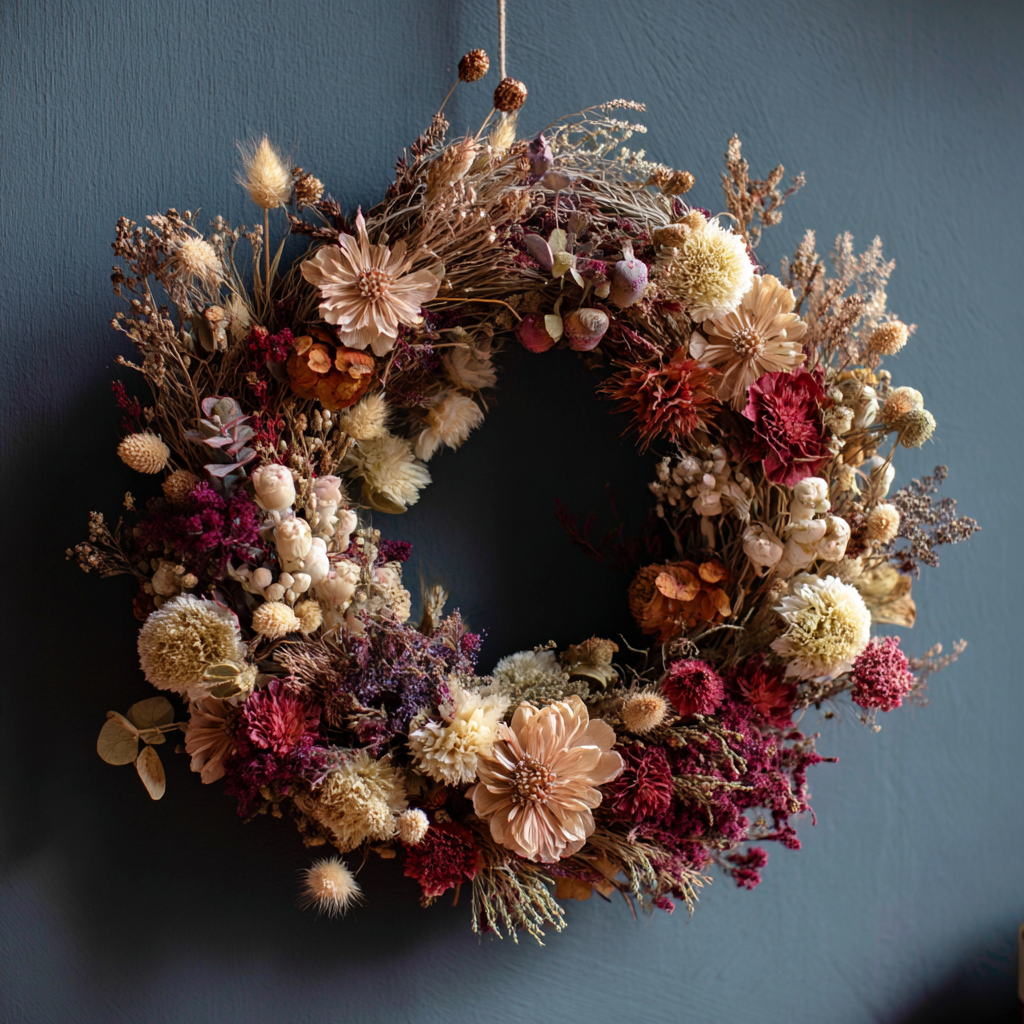
Now, if you’re like me and have a bit of a thing for cozy vibes and rustic charm, then let me introduce you to your new favorite fall project: the DIY dried flower wreath. It’s easy, it’s stunning, and—bonus—you won’t kill any houseplants in the process. Win-win.
So grab your favorite oversized sweater, put on a folky playlist, and let’s chat about how to make one of these beauties.
Why Make a Dried Flower Wreath for Autumn?
Ever stared at your front door and thought, Something’s missing…? Yeah, same. A dried flower wreath adds serious charm to your space—and unlike fresh flowers, these won’t start drooping after two days and a passive-aggressive amount of watering.
Here’s why I swear by them for fall:
- They last forever. Okay, maybe not forever forever, but way longer than anything fresh.
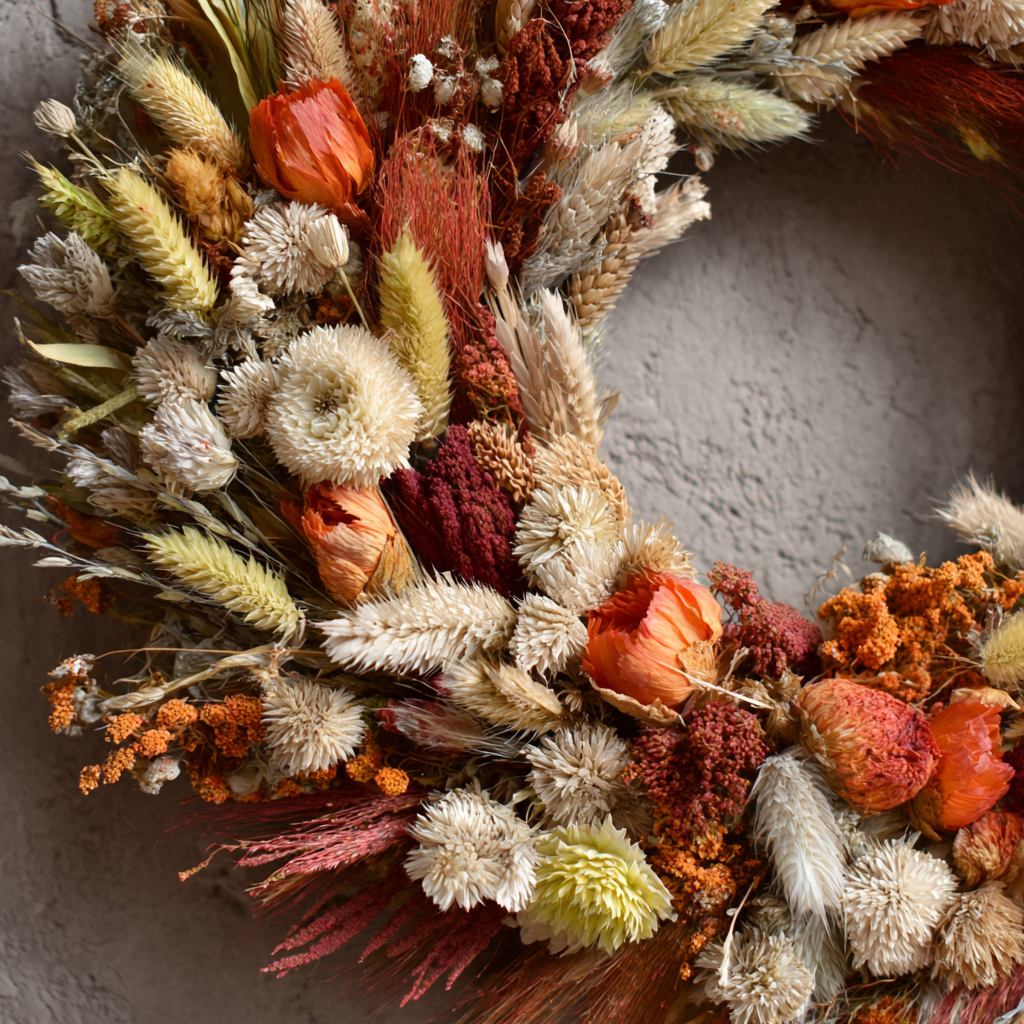
- They scream autumn. Think golden wheat, burnt orange petals, muted greens… chef’s kiss.
- They’re ridiculously easy. Seriously, if you can twist wire and use scissors without injuring yourself (too much), you can make one.
- Zero pressure. Imperfection actually helps here. Rustic > perfect.
FYI: You don’t need to be the next Martha Stewart to make this work. Honestly, I made mine while watching Netflix and eating snacks—multitasking queen over here.
What You’ll Need: The Crafty Checklist
Before you start hot-gluing your fingers together (yep, been there), make sure you’ve got everything you need. Don’t worry—most of this stuff is super affordable and easy to find at your local craft store or even online.
🌾 Basic Supplies
- A wreath base – Grapevine, metal hoop, embroidery hoop, or even a wire coat hanger you twisted into a circle during a 2 a.m. “creative burst.”
- Florist wire – Thin, flexible, and crucial for keeping your flowers in place.
- Wire cutters – Trust me, your kitchen scissors will hate you if you try to use them.
- Hot glue gun + sticks – A crafter’s best friend and occasional burn hazard.
- Twine or ribbon – For hanging your masterpiece.
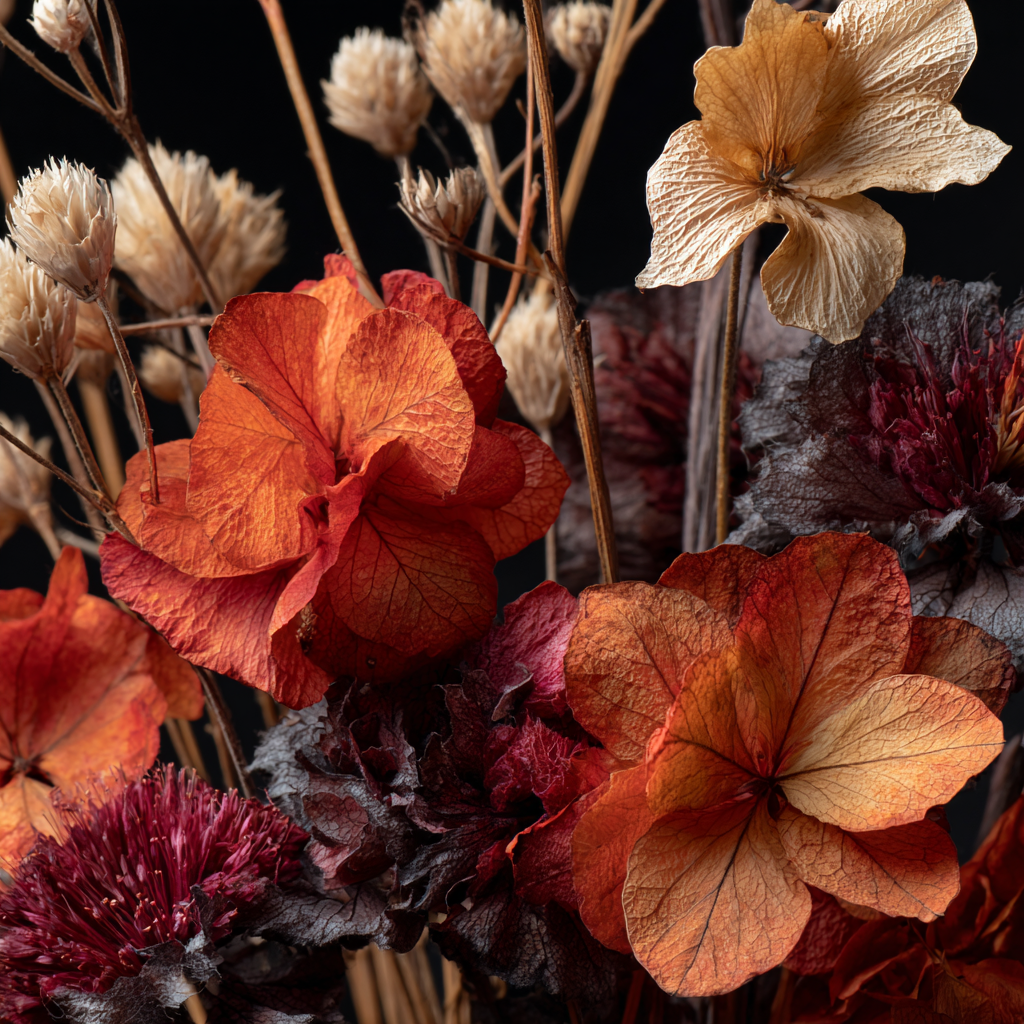
🌻 Dried Flowers & Foliage
Here’s where you can get a little wild and creative. Pick a mix of textures and colors for a more dynamic look.
Popular autumn picks:
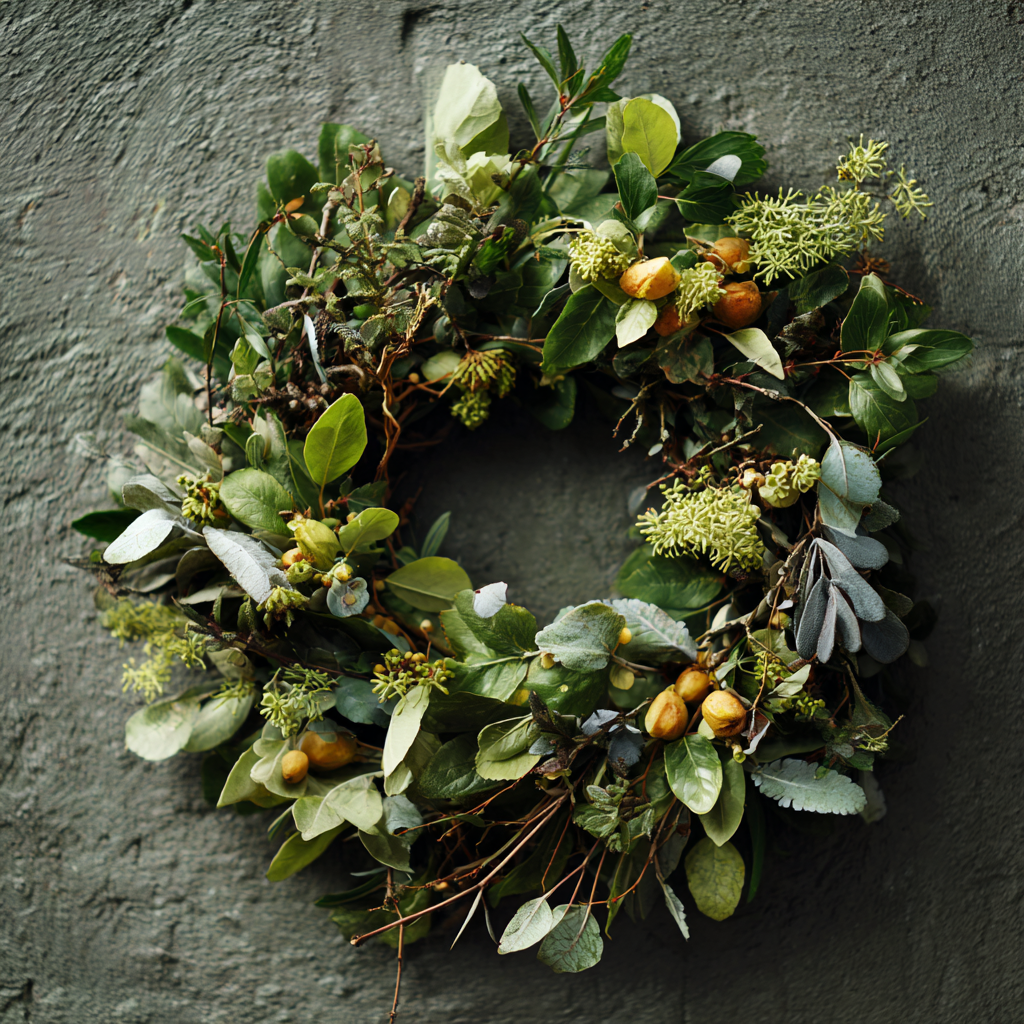
- Dried eucalyptus – Smells good, looks better.
- Pampas grass – Fluffy drama in plant form.
- Dried lavender – Soft color and soothing scent? Yes please.
- Bunny tails (lagurus) – Ridiculously cute.
- Statice, strawflower, or amaranth – Great pops of color.
- Wheat or barley stalks – Super autumnal and very farmhouse-chic.
Pro tip: You don’t have to buy pre-dried flowers. You can dry your own! Hang them upside down in a dark, dry spot for about two weeks. Boom—DIY from start to finish.
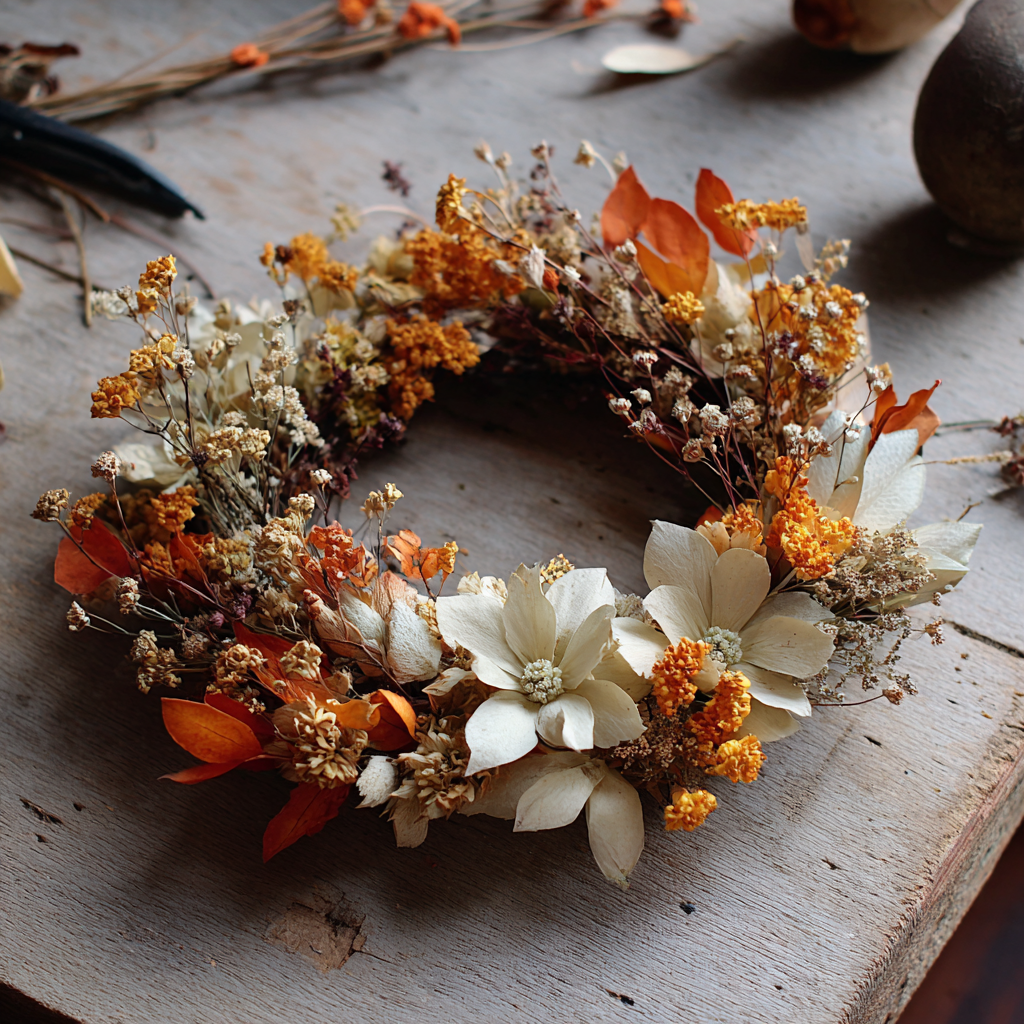
Step-by-Step: How to Make Your Dried Flower Wreath
Alright, time to get crafty. Don’t worry, I’ll walk you through every step like a helpful (and slightly sarcastic) friend.
Step 1: Prep Your Flowers
Sort your dried flowers by type and size. Trim the stems so they’re manageable—around 4–6 inches is ideal.
Important: Be gentle! Dried flowers can be fragile, and nobody wants a crumbled mess halfway through.
Step 2: Plan Your Layout
Lay everything out before you start attaching anything. Trust me, “winging it” sounds fun until your wreath looks like a bird nest that lost a fight.
Decide:
- Do you want a full wreath or a half-moon style?
- Will you stick to one side or go all around?
- Are you feeling symmetric or wild and free?
Honestly, there’s no wrong answer. Unless you glue everything on upside down. That might be wrong.
Step 3: Attach Your Greenery First
Start with your base layer—this is usually your greens or any fluffy textures like pampas grass. Use florist wire to secure them to the wreath base, working in one direction for a cohesive look.
Step 4: Layer in Your Florals
Once your greenery is set, add your statement flowers. Mix colors and textures, but keep stepping back to check your balance. It’s kinda like doing your makeup—you want both eyes to match, but not look too try-hard.
You can:
- Cluster flowers for dramatic impact.
- Space them evenly for a classic vibe.
- Go asymmetrical if you want that “I woke up like this” aesthetic.
Step 5: Fill the Gaps
Use small filler flowers or tiny leaves to fill in any empty spots. This is where the hot glue gun comes in handy—but please, don’t burn yourself like I did last fall. That blister haunted me for weeks.
Step 6: Secure and Fluff
Once you’re happy with your arrangement, give everything a little extra twist of wire or dab of glue just to make sure it holds up. Then fluff the petals and bend anything that looks off.
Step 7: Hang It Up and Brag
Tie a ribbon or twine to the top, hang it on your door or wall, and immediately snap a pic for Instagram. Use hashtags like #WreathGoals or #CraftingQueen, obviously. 😎
Pro Tips for That Chef’s Kiss Finish
- Stick to a color palette. Warm neutrals, burnt oranges, and soft purples work beautifully for autumn.
- Use odd numbers. In design, odd-numbered groupings (3s or 5s) just look better.
- Don’t overthink it. Seriously, this is meant to be fun. Your wreath doesn’t need to look like it came from a high-end boutique (but bonus points if it does).
- Store it right. When autumn’s over, wrap it in tissue paper and store it in a dry, cool spot. Avoid plastic bags—they trap moisture and can ruin the flowers.
Mistakes to Avoid (Because I Already Made Them for You)
Let’s talk about what not to do. Because, IMO, learning from my fails is faster than trial and error.
- Using fresh flowers thinking they’ll “dry later.” Nope. They’ll just rot. Ew.
- Skipping the layout step. Your wreath ends up looking like it tripped and fell into a flower shop.
- Going too heavy on one side. Unless you want a wreath that tilts like it’s had a long night out.
- Forgetting to trim stems. You’ll end up with a pokey, tangled mess. Ask me how I know 🙃
Make It Your Own: Ideas to Personalize Your Wreath
Okay, now that you’ve got the basics down, why not jazz it up a little?
- Add mini pumpkins or acorns for a fall harvest look.
- Tuck in cinnamon sticks or dried oranges for that cottagecore aroma.
- Tie in a fabric bow made from plaid, burlap, or velvet.
- Weave in fairy lights (battery-powered, obviously) if you’re feeling extra festive.
Basically, if it screams “fall,” you can probably stick it in a wreath.
Wrap-Up: Final Thoughts From a Fellow Wreath Addict
So, there you have it. A DIY dried flower wreath for autumn that’s charming, low-maintenance, and seriously fun to make. Whether you’re a seasoned crafter or just someone who likes to pretend they’re crafty for one weekend a year (guilty), this project is the perfect blend of creative and cozy.
Plus, there’s something super satisfying about pointing to your front door and saying, “Yeah, I made that.” 😏
Your turn! Go gather some blooms, crank up your favorite fall playlist, and make something beautiful. And if you burn your finger with the glue gun, just know—I’ve been there, and you’re not alone.
Happy wreathing, my friend! 🧡