So your mantel is sitting there—bare, sad, and screaming for attention—and you’re thinking, “It needs something, but I don’t want to spend $60 on a pre-made garland that smells weird and sheds like a stressed-out cat.” 😩
Good news: you can totally make your own DIY fall garland, and it’ll look like something straight out of a seasonal décor catalog (without the price tag or the glitter explosion).
Let’s make some fall magic happen—no hot glue burns required (well, fewer of them, anyway).
Why Make a DIY Fall Garland?
Besides the obvious “I want my house to look like a pumpkin spice latte feels”, here are a few solid reasons to give DIY garlanding a shot:
- It’s cheaper than buying one. Way cheaper. Like, craft store clearance bin cheap.
- You get full creative control. Want moody? Minimalist? Cottagecore? You got it.
- It’s actually fun. Yes, even if you’re “not crafty.” I promise.
- Zero pressure. It’s literally just stuff tied to string. If that’s not beginner-friendly, IDK what is.
What You’ll Need (a.k.a. The “Please Don’t Forget This” List)
You don’t need a craft room or an art degree. Just grab a few essentials and let your inner cozy decorator shine.
✂️ Supplies:
- Twine, jute string, or ribbon (whatever matches your vibe)
- Scissors
- Hot glue gun + glue sticks (or craft glue, but hot glue is faster)
- Mini clothespins (optional, but cute and easy)
- Hole punch (if using paper elements)
- Command hooks or masking tape (for hanging)
🍂 Garland Add-Ons (Pick Your Faves):
- Faux leaves (Dollar Tree, Michaels, or Amazon = goldmine)
- Dried orange slices (trust me—they look so cozy)
- Mini pumpkins or gourds (foam ones = light & easy)
- Wood beads (neutral + rustic = chef’s kiss)
- Pinecones (nature’s free décor)
- Fabric scraps or ribbon (for texture and color)
- Paper cutouts (acorns, leaves, cozy quotes, etc.)
- Cinnamon sticks (bonus: your room smells AMAZING)
How to Make a DIY Fall Garland (Without Losing Your Mind)
Step 1: Pick a Theme or Color Scheme
Don’t skip this. Otherwise, your garland might look like fall threw up on it (been there 🙃). Choose 2–3 main colors and textures so everything feels cohesive.
Examples:
- Classic fall – burnt orange, gold, deep red, burlap
- Neutral minimal – cream, taupe, sage, white pumpkins
- Boho cozy – blush, rust, mustard, dried florals
Step 2: Cut Your Base String
Measure your mantel, then cut your twine or ribbon a little longer—give it that nice drape over the sides.
Pro tip: Add 8–12 extra inches so it doesn’t end up stretched tighter than your jeans after Thanksgiving dinner.
Step 3: Lay Out Your Design
Before you start gluing or tying anything, lay out your items in order. Think of it like trying on outfits—you wanna make sure it all vibes before you commit.
Try spacing items:
- Every 4–6 inches for a full look
- Every 8–12 inches for a minimal vibe
Step 4: Attach Your Fall Magic
There are a few ways to attach your items:
- Tie them on – great for pinecones, fabric strips, mini bundles of wheat
- Hot glue them directly to the string
- Use mini clothespins to clip on leaves, cutouts, or tags (cute AND non-permanent)
Mix it up! A little texture, a little variety = pro-level cozy.
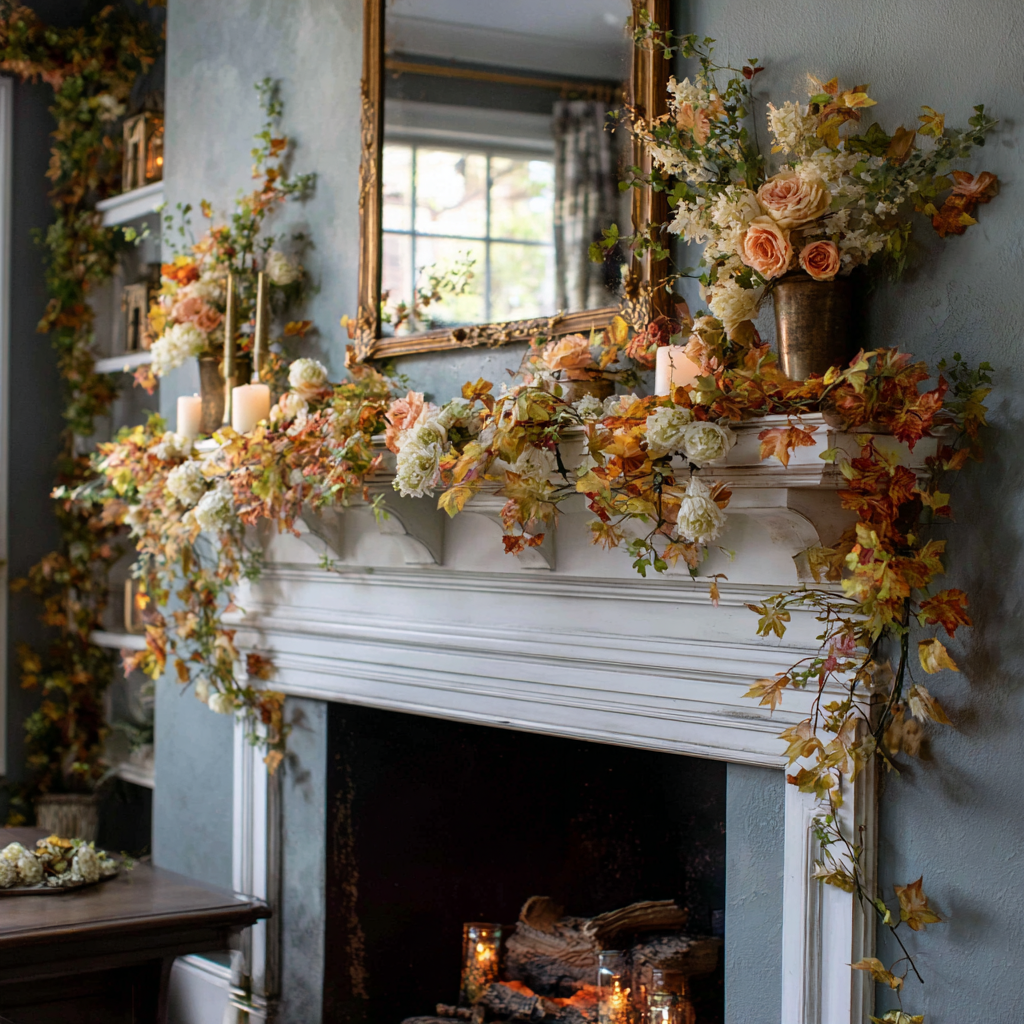
Step 5: Hang It Up
Use removable hooks, thumbtacks, or tape to attach your garland to the front of the mantel. Let it drape naturally—don’t pull it too tight. Loops and soft curves look way more relaxed and inviting.
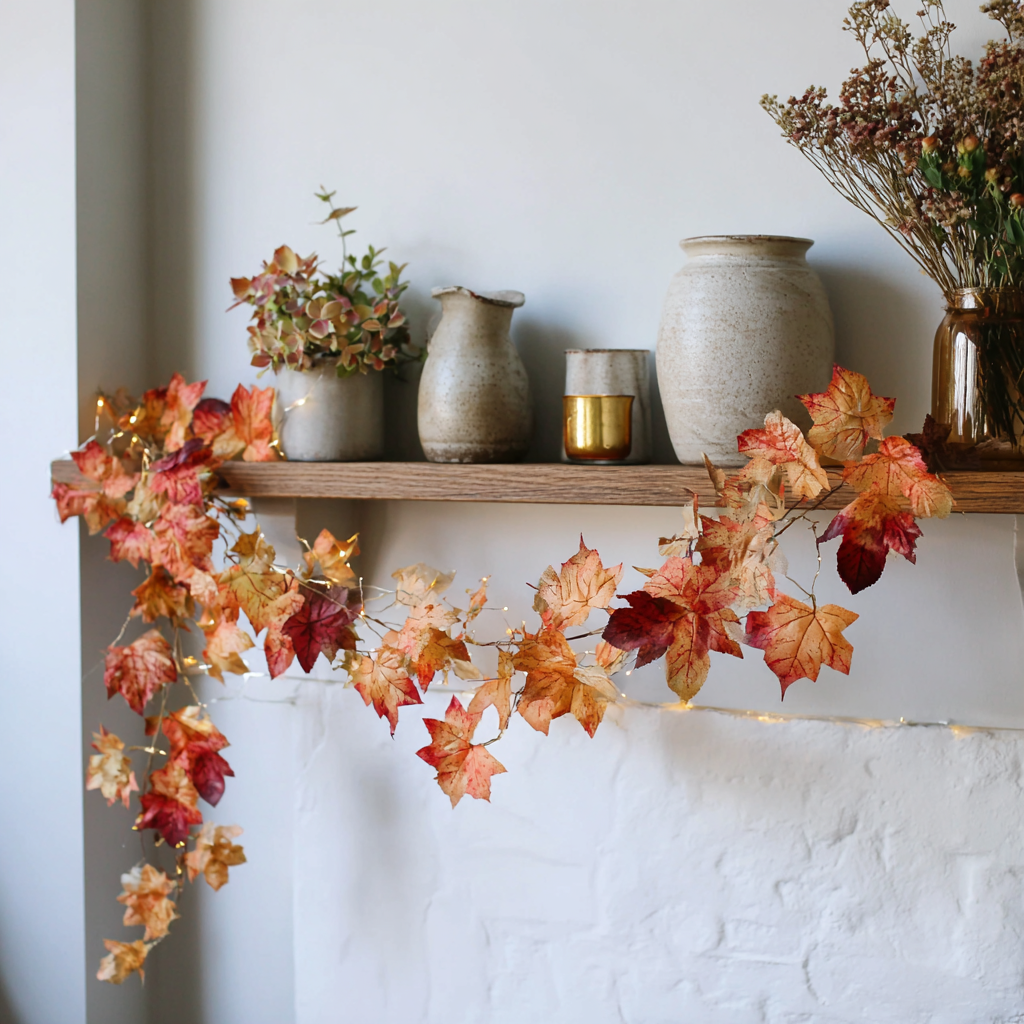
Optional: Layer it with a eucalyptus garland or fairy lights for extra drama. I mean, if we’re gonna be cozy, let’s be extra cozy.
3 DIY Garland Styles to Try (For Every Type of Fall Vibe)
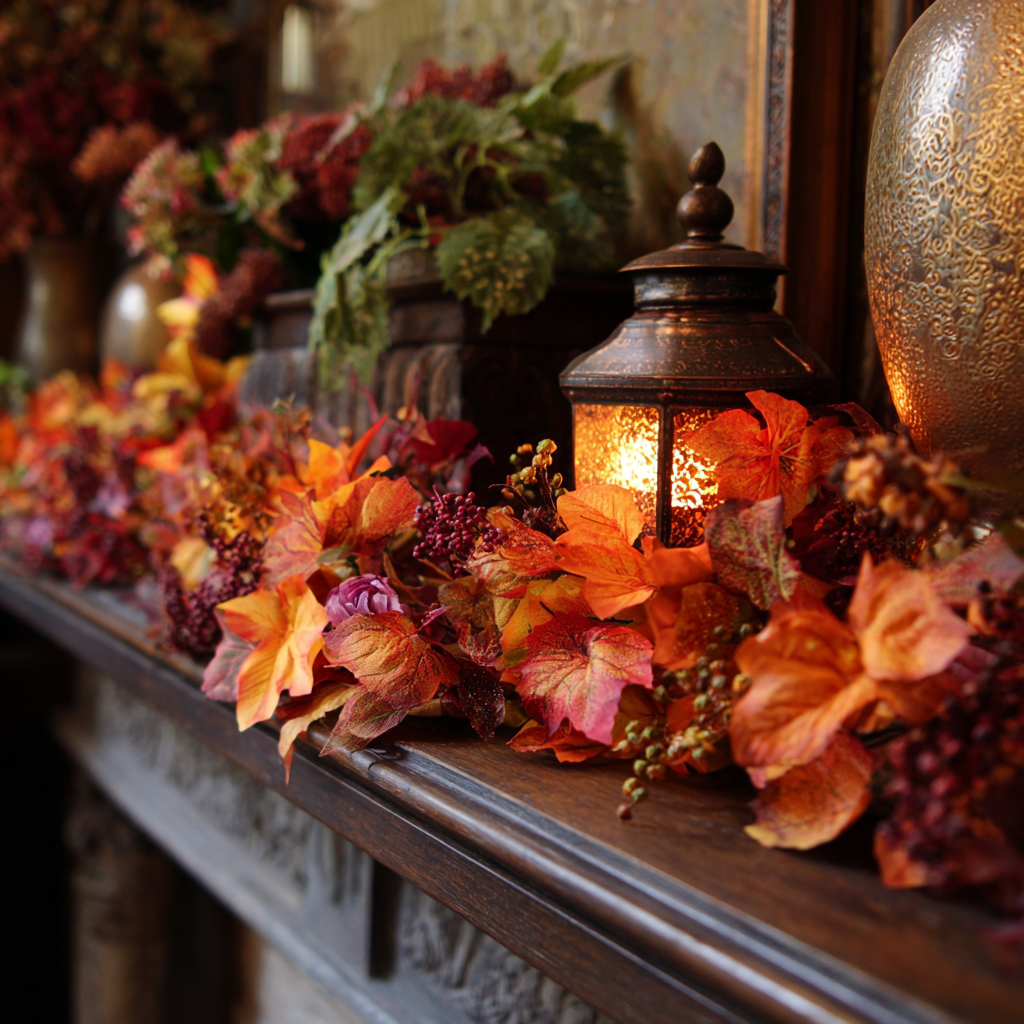
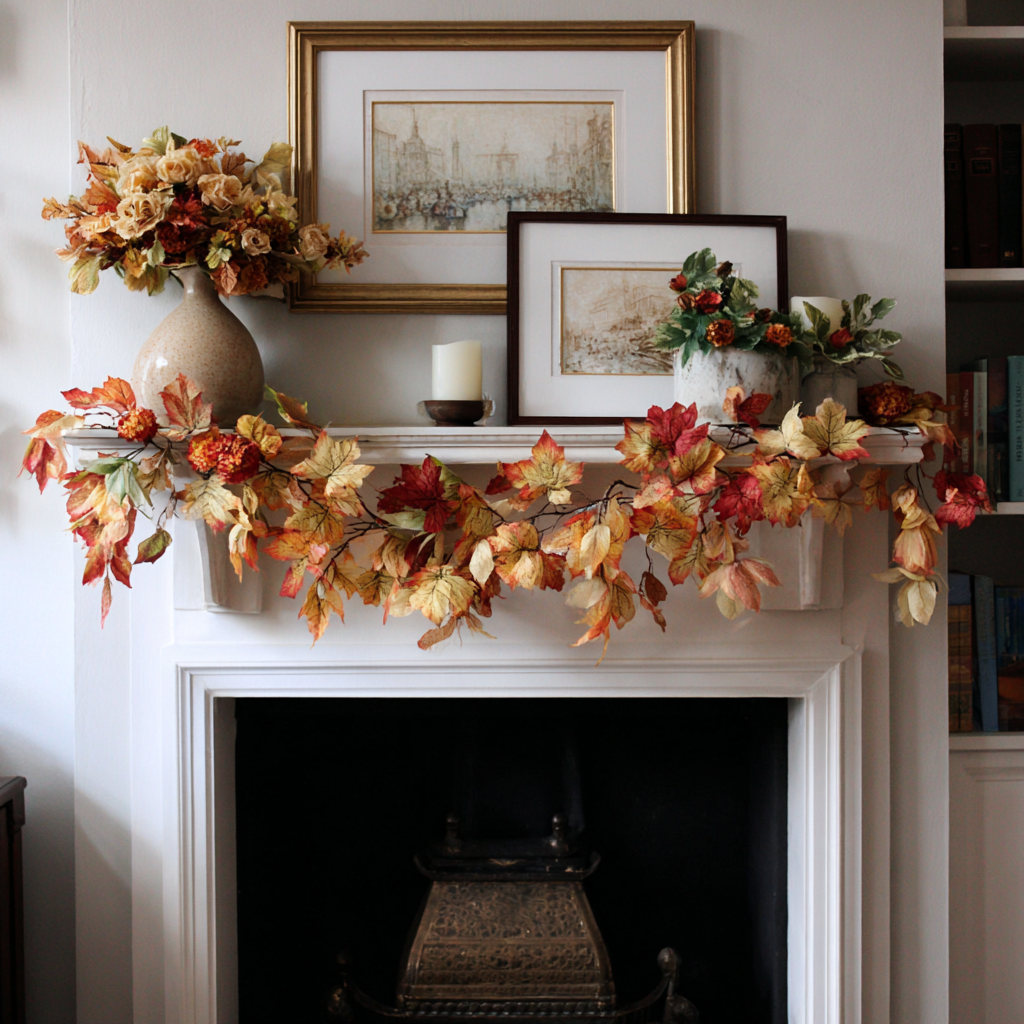
🎃 1. The Classic Cozy Garland

This one screams “fall in a Hallmark movie.”
What to use:
- Faux maple leaves
- Mini foam pumpkins
- Acorns or pinecones
- Burlap ribbon ties
Pair it with: Candles, plaid throw blankets, and something baking in the oven. Bonus points for a dog in a sweater.
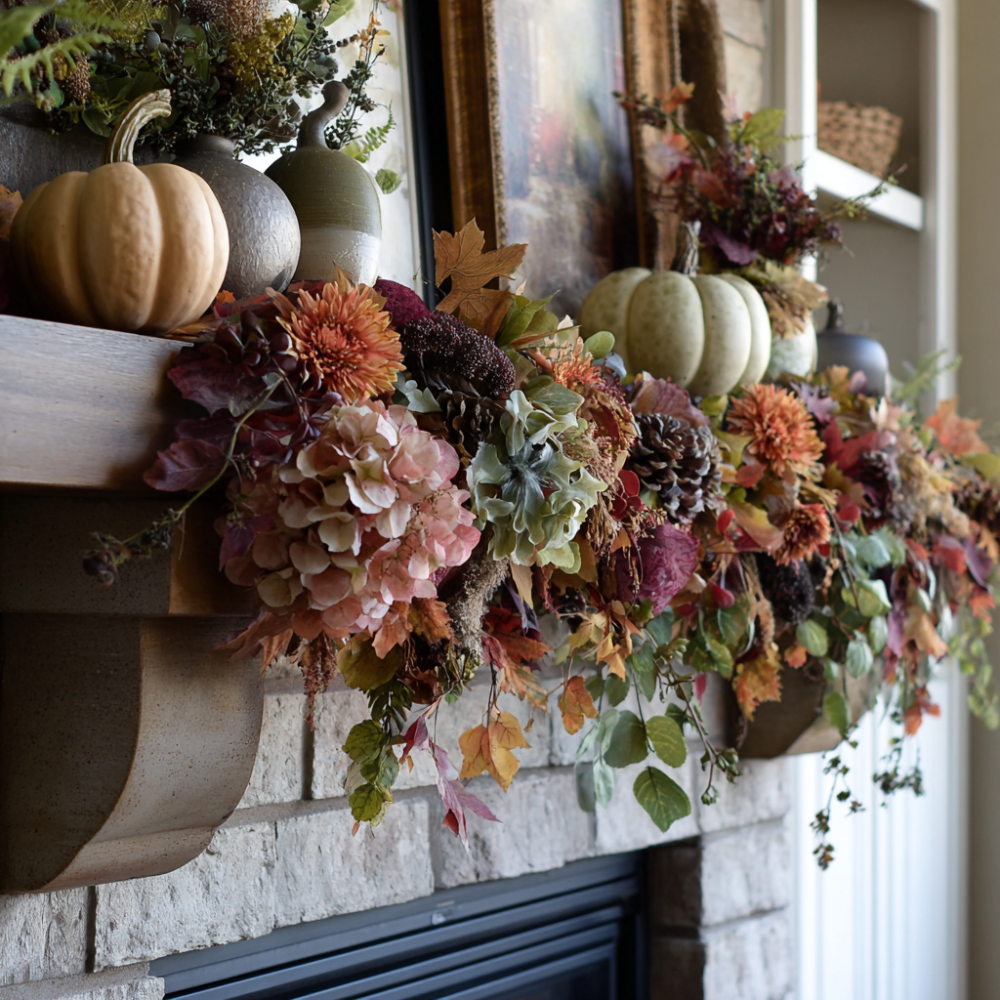
🍊 2. The Natural + Neutral Garland

For the girlies who love a beige moment (no shame, I’m one of you).
What to use:
- Dried orange slices
- White mini pumpkins
- Wooden beads
- Eucalyptus or wheat sprigs
Keep it simple. Neutral doesn’t mean boring—it means timeless. Add fairy lights if you’re feeling fancy.
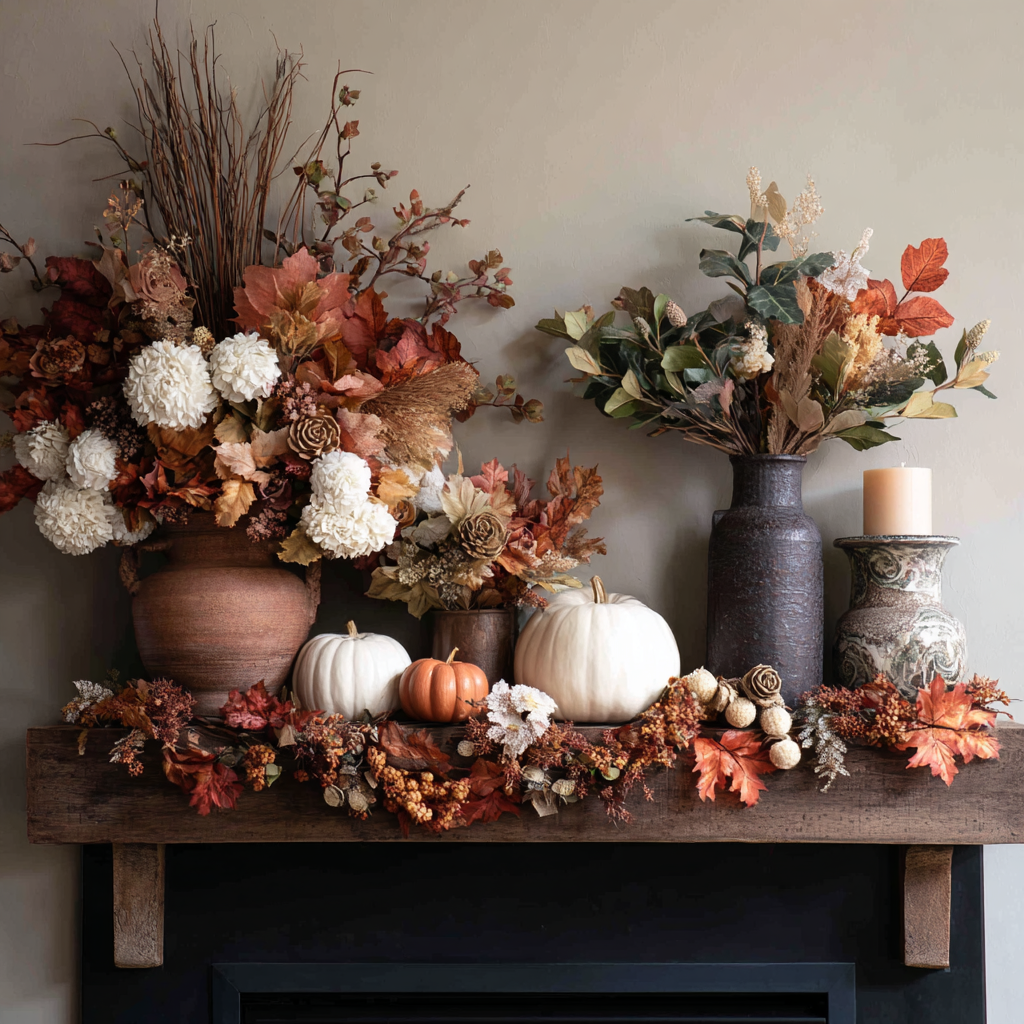
🍂 3. The Boho Fall Garland
A little moodier, a little artsy, and very Instagram-worthy.
What to use:
- Pampas grass bundles
- Dried florals
- Rust and mustard fabric scraps
- Paper moons or leaf cutouts
Think Anthro vibes on a budget. And yes, your cat will probably try to eat it.
Fall Garland Tips from Someone Who’s Burned Her Finger Too Many Times
- Lighter is better. Your mantel doesn’t want to support a 12-pound garland. Use lightweight items.
- Hot glue dries fast. Like blink-and-it’s-stuck fast. Work quickly but carefully.
- Store it smart. When the season ends, wrap it in tissue paper and put it in a box labeled “DO NOT CRUSH.” Ask me how I know that’s necessary. 😬
- Don’t overthink it. Seriously. If it looks cute and makes you smile, it’s perfect.
Quick DIY Fall Garland Ideas If You’re in a Hurry
Running late to fall decorating season (a.k.a. October 30th)? No shame. Try one of these 10-minute garlands:
- Cinnamon stick + twine garland – tie sticks every 6 inches, add a few dried leaves.
- Fabric scrap tassel garland – tear fabric into strips, tie them onto twine in fall tones.
- Mini banner garland – cut out paper triangles, add cozy quotes, string it up with clothespins.
Easy. Fast. Still adorable.
Final Thoughts: You’ve Got This, Craft Queen 🍁
Making your own DIY fall garland for the fireplace mantel is way easier than people think—and way more fun when you crank some autumn tunes and have a pumpkin spice latte in hand. Whether you go full-on farmhouse or stay sleek and minimal, this project is all about adding that warm, handmade vibe to your space.
So go raid your craft bin (or the yard), string some fall goodness together, and get that cozy glow-up your mantel’s been begging for.
And remember—if anyone asks where you bought it, just smirk and say, “Oh this? I made it.” 😉